If you own a stanley cup, you’re not alone in dealing with leaks. Many users have noticed issues like leaking lids or even mold buildup.
-
Some people say their cup leaks while they carry it, even with the stanley leak proof lid in place.
-
Stanley has sold over 10 million Quenchers, and the brand’s popularity keeps growing thanks to social media and smart marketing.
Most leaks have simple fixes, so you can get back to enjoying your favorite drink without any hassle.
Why is Everyone So Obsessed with the Stanley Cup?
The Role of the Leak-Proof Lid and Flip Straw
How did the Stanley Quencher become a cultural phenomenon?
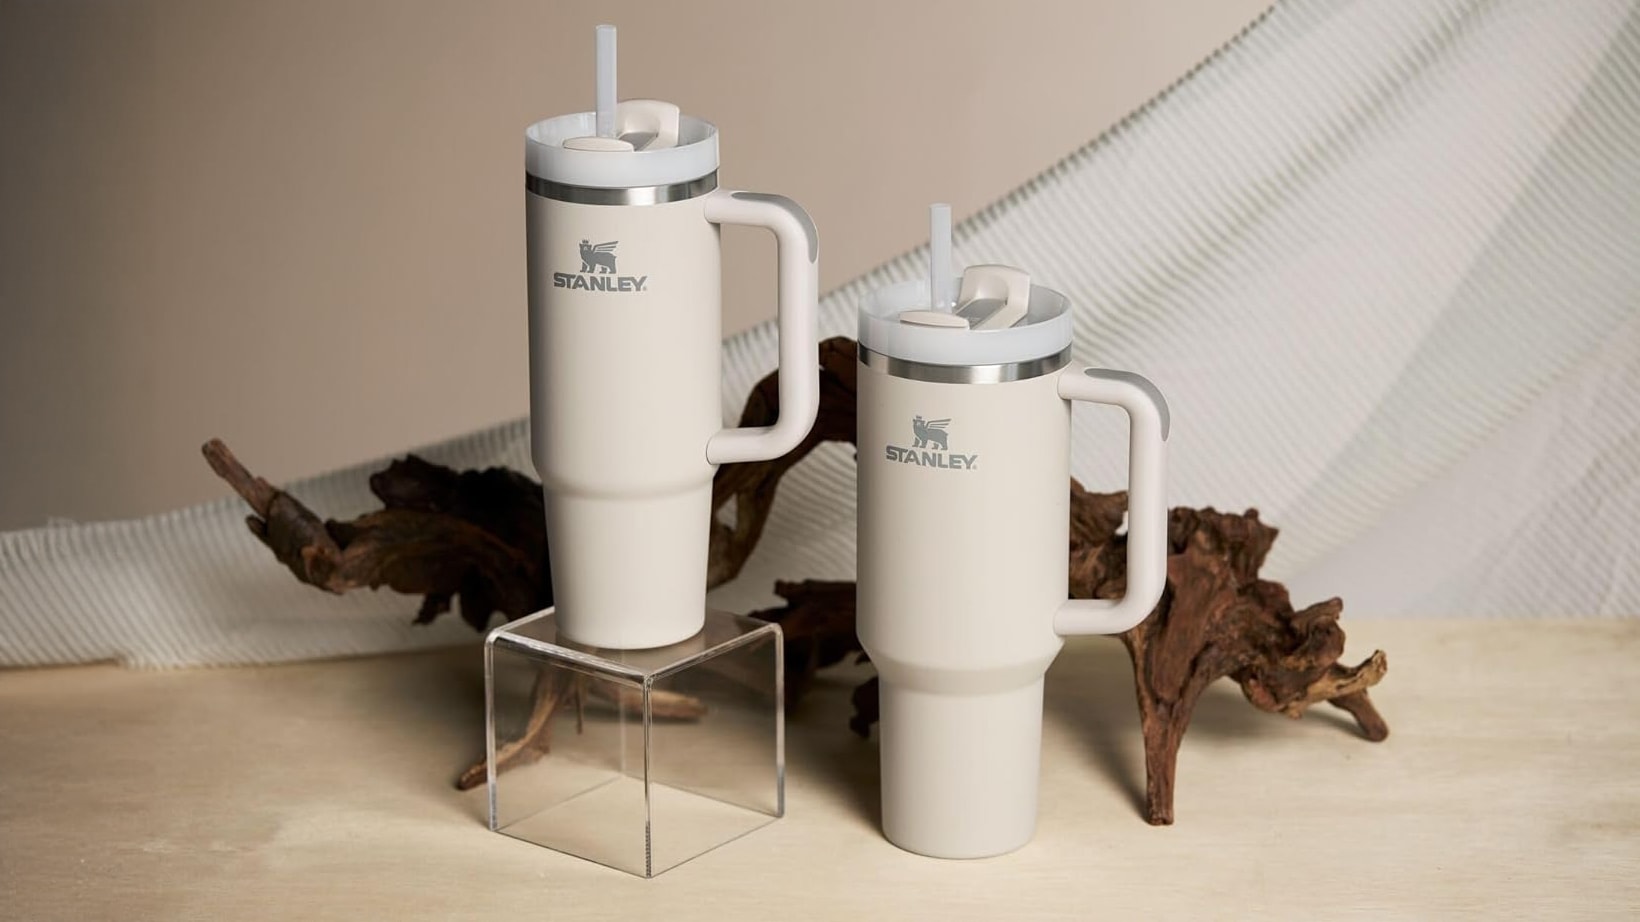
You probably see the Stanley Quencher everywhere these days. It’s not just a water bottle—it’s a statement. For over a hundred years, Stanley has built a reputation for tough, reliable products. The company’s stainless steel thermoses became famous for their durability and lifetime guarantee. That history set the stage for today’s craze.
Now, the Stanley Quencher has turned into a must-have accessory. You might notice that many people, especially women, love showing off their cups. They see it as a symbol of style and wellness. Carrying a Stanley Quencher says you care about looking good and staying healthy. Social media has only made the hype bigger. You see influencers and friends posting about their favorite colors and customizations.
A brand or product that really will resonate with consumers is when they have the perfect combination of addressing the technical, functional and emotional needs of the consumer.
Stanley’s popularity isn’t just about looks. The numbers tell the story:
-
Stanley has seen a 275% year-over-year increase in Quencher sales.
-
There has been a 215% increase in its best-selling category, hydration.
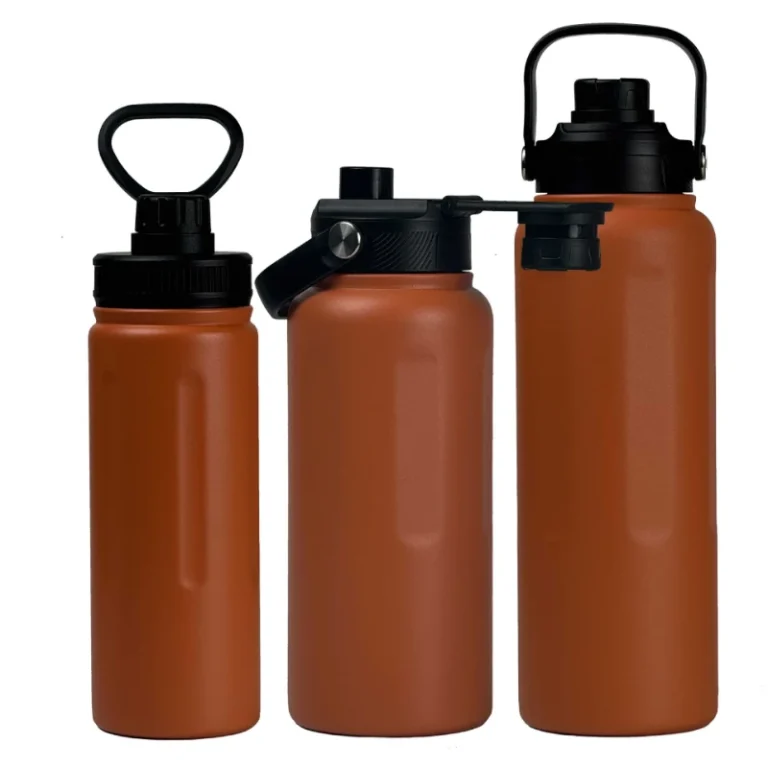
What makes the Stanley leak proof lid so effective?
You want a cup that won’t spill in your bag or car. That’s where the stanley leak proof lid comes in. This lid uses a clever design to keep your drink inside, even if you tip the cup. The leak-proof lid forms a tight seal, so you don’t have to worry about drips or messes. The flip straw adds another layer of convenience. You can sip on the go without unscrewing the lid or risking a spill.
When you use the stanley leak proof lid, you get peace of mind. You know your drink stays put, whether you’re at the gym, in the office, or on a road trip. The leak-proof lid is easy to open and close, but it still locks in freshness and prevents leaks. That’s a big reason why so many people trust their Stanley Quencher every day. If you want a cup that matches your busy lifestyle, the stanley leak proof lid delivers.
Is the ‘Leak-Proof’ Claim on Stanley Cups True?
Understanding the Limits of Any Seal
Under what conditions might a Stanley cup potentially leak?
You expect your cup to keep drinks inside, but sometimes leaks happen. If you tip your cup upside down or shake it hard, you might notice a few drops escaping. The seal works best when you use the cup upright and close the lid tightly. If the gasket or flip straw isn’t seated properly, leaks can sneak through. Even the best designs have limits.
Some independent reviews have tested different Stanley models. Here’s what they found:
-
The new Stanley Quencher Cup leaked when tipped upside down, even though it claimed to be leak-proof.
-
The original Stanley Quencher leaked even more than the newer version.
-
The Black Bottle Test showed no leakage after being upside down for an hour.
You see, results can vary depending on how you use your cup and which model you own.
How does manufacturing quality ensure a proper seal initially?
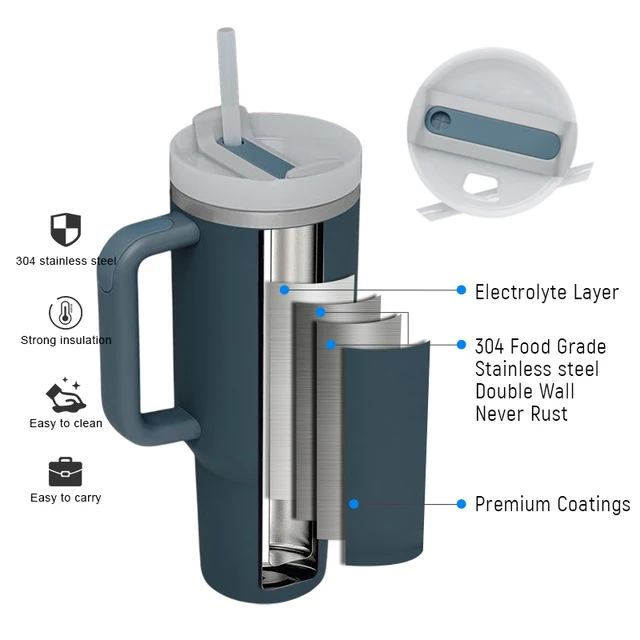
When you buy a new Stanley cup, you trust that the seal will work. Manufacturing quality plays a big role here. Stanley uses 18/8 stainless steel and seals the lid with lead for durability. The gasket fits snugly, and the flip straw locks into place.
Take a look at this table showing how different Stanley bottles performed in tests:
|
Test Description |
Outcome |
|---|---|
|
New Stanley Quencher Cup |
Leaked when tipped upside down, despite claims of being leak-proof. |
|
Original Stanley Quencher |
Leaked significantly more than the new version. |
|
Black Bottle Test |
No leakage after being upside down for an hour. |
If you handle your cup with care and check the gasket regularly, you can keep leaks to a minimum. Manufacturing quality gives you a strong start, but your daily habits matter too.
Are You Experiencing Stanley Cup Gasket Problems?
Common Signs of a Failing Gasket
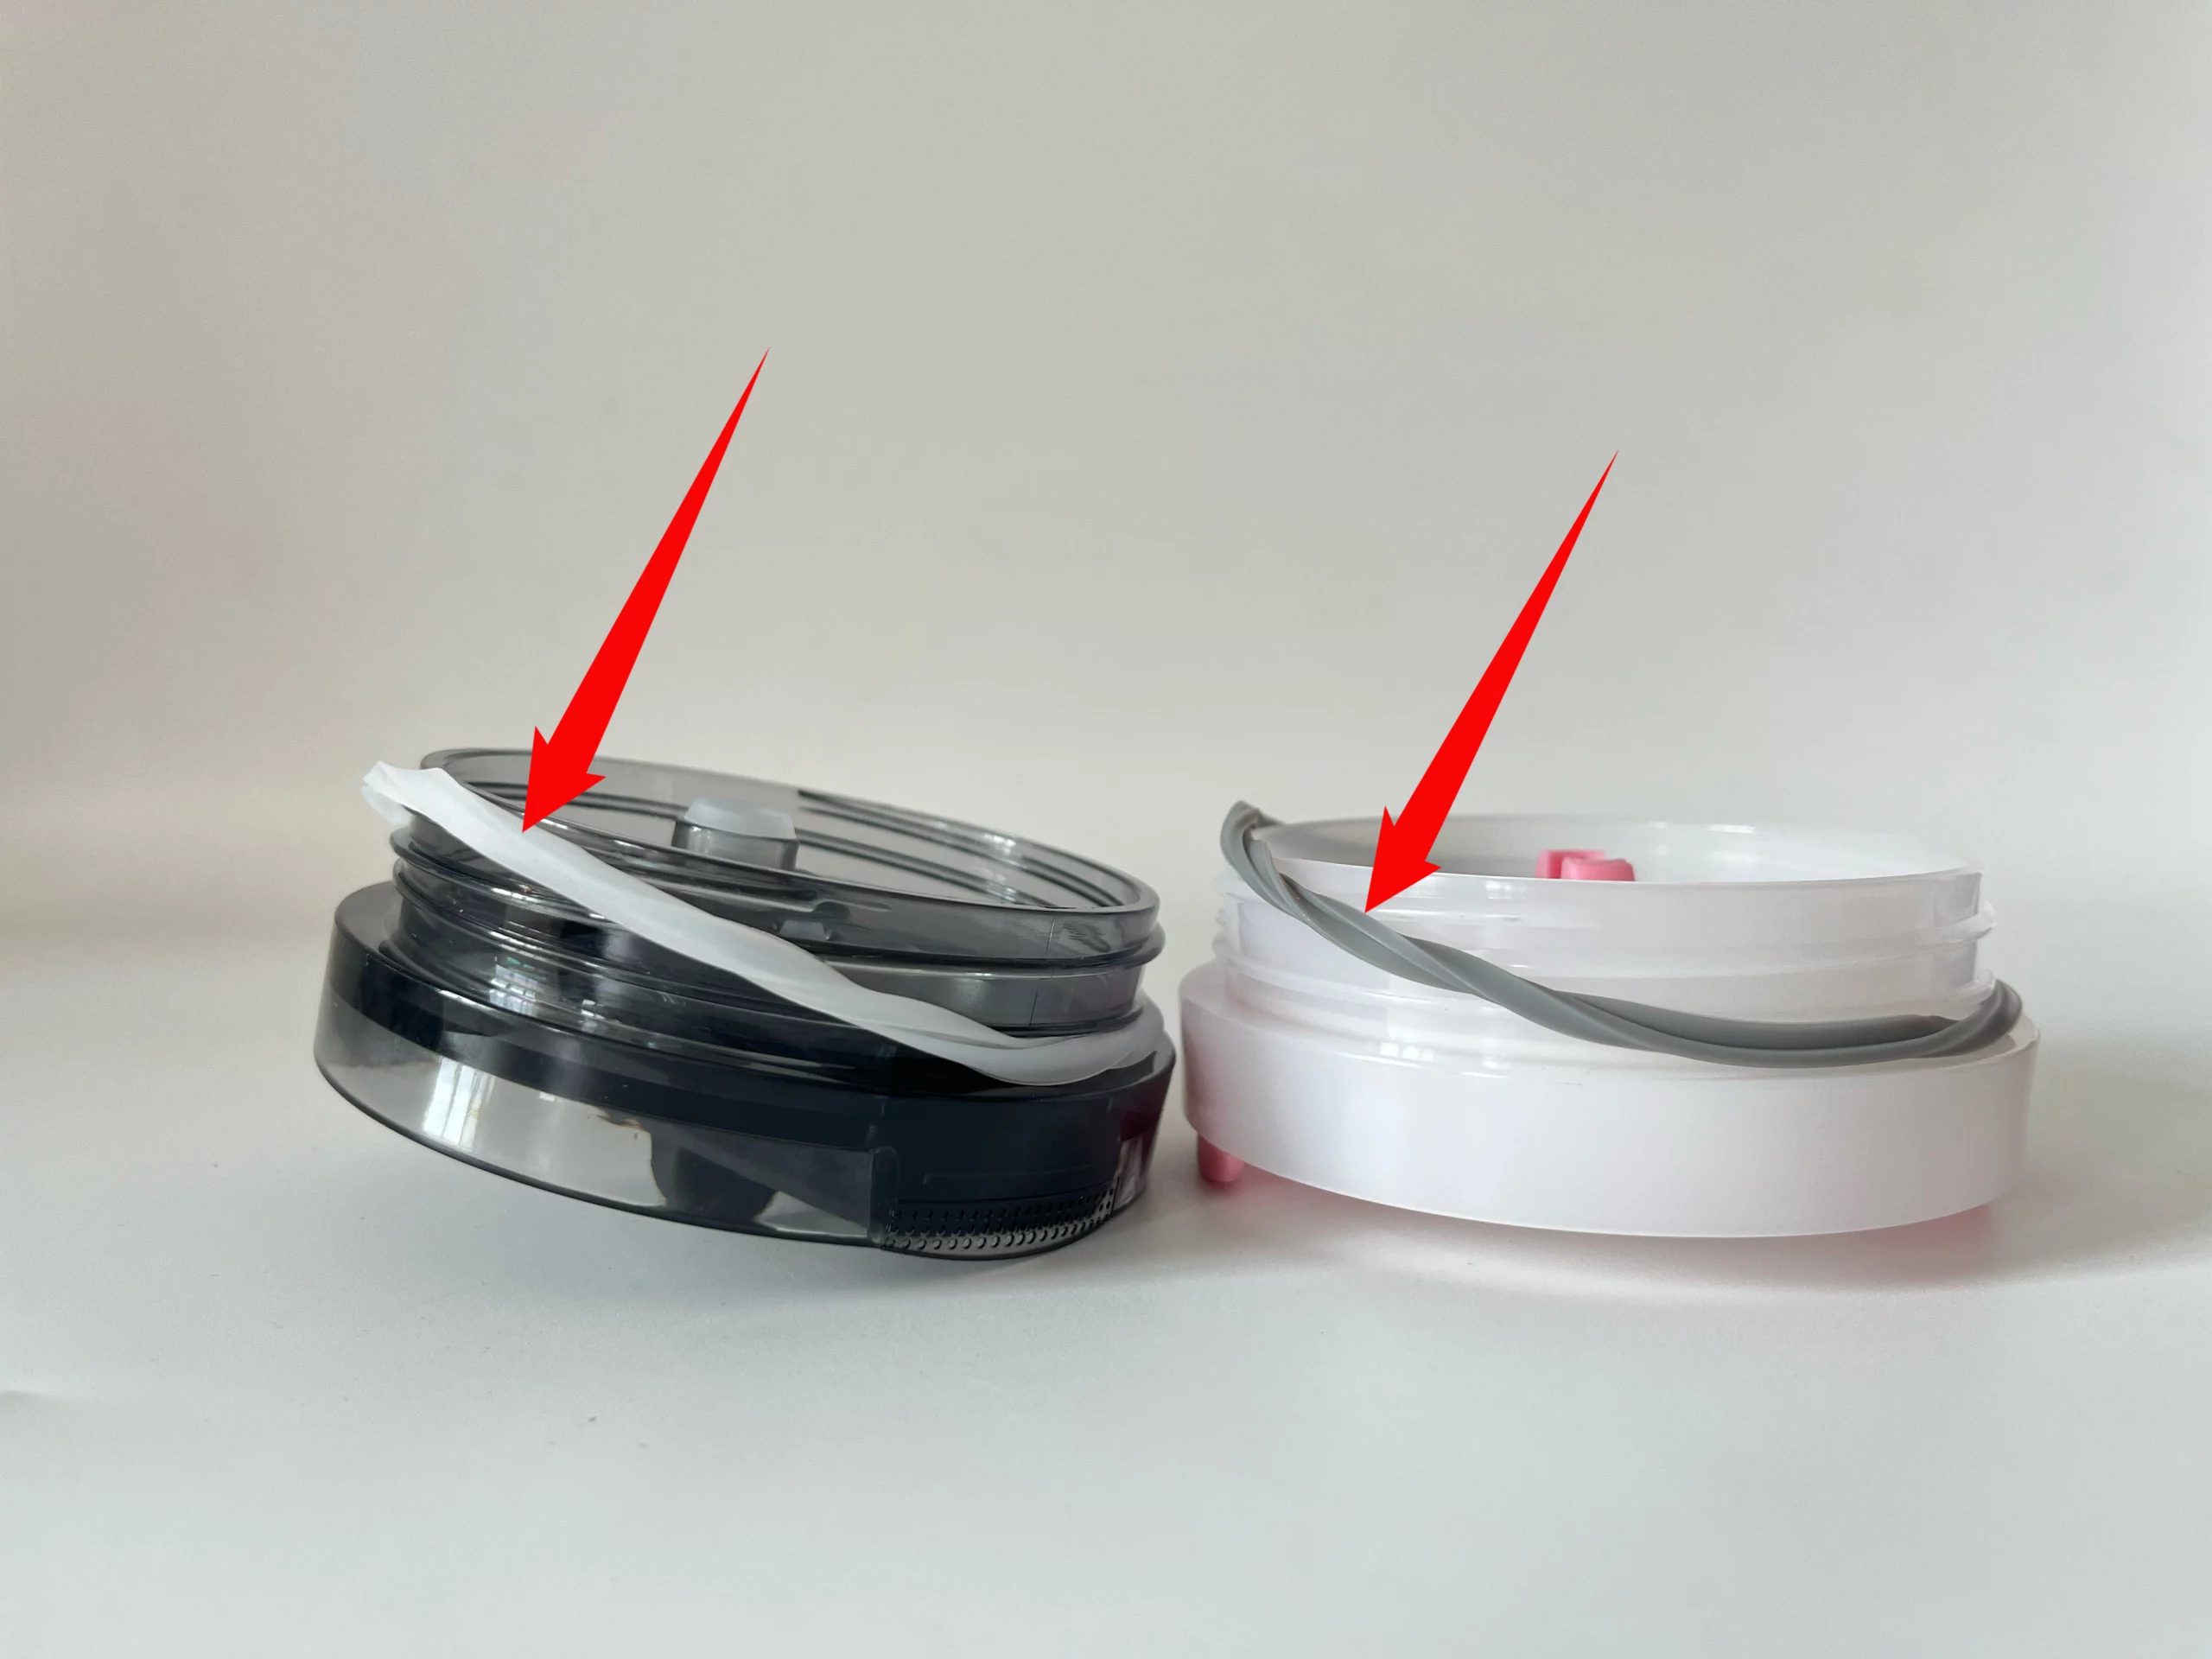
What are the symptoms of a worn-out or damaged gasket?
You might notice your cup leaking, even when the lid feels tight. Sometimes, you see drips around the rim or under the lid. If you spot moisture where it shouldn’t be, your gasket could be the culprit. A worn-out gasket often looks stretched, cracked, or flattened. You may also smell something odd if mold has started to grow. If your drink tastes strange or you see black spots, it’s time to check the gasket.
Tip: Always inspect the gasket if you experience leaks or notice a change in how your cup seals.
The most common cause of gasket problems comes from the lid threads shrinking. When you expose your cup to heat or twist the lid too tightly, the threads can shrink. This makes the lid detach more easily and can even create a burn hazard if you’re carrying hot drinks. So, if you use your cup for coffee or tea, pay extra attention to how the lid fits.
The good news? You rarely need to replace the gasket. Stanley tumblers use high-grade stainless steel and silicone gasket sealant. These materials last a long time. Unless you see real damage or heavy wear, your gasket should keep working for years.
Can problems with the stanley flip straw affect the seal?
Absolutely! If the flip straw isn’t seated correctly, you might see leaks. Sometimes, the straw or its seal gets knocked out of place during cleaning or daily use. Make sure you push the straw in all the way and check for any cracks or warping.
Here’s how Stanley compares to other popular brands:
|
Brand |
Customer Service Availability |
|
|---|---|---|
|
Stanley |
Leakage issues noted |
Replacement parts available |
|
BruMate |
Virtually leak-proof |
Not specified |
|
Simple Modern |
Virtually leak-proof |
Not specified |
|
Reduce |
Not much for replacement |
Good customer service |
If you own a stanley cup, a quick check of the gasket and flip straw can save you a lot of hassle. Stay alert for early signs, and you’ll keep your drinks where they belong—inside your cup!
How Can You Fix a Leaking Stanley Cup Gasket?

A Step-by-Step Troubleshooting Guide
How can you properly clean and reseat the existing gasket?
If your stanley cup starts leaking, don’t panic. You can often fix the problem with a quick cleaning and reseating of the gasket. Start by removing the lid and gently prying out the silicone gasket with a spoon or your fingers. Wash the gasket and lid with warm, soapy water. Make sure you scrub away any residue or mold hiding in the grooves. Rinse everything well and let it dry completely. Once dry, press the gasket back into its groove, making sure it sits flat and snug. This simple step can stop stanley cup from leaking in most cases.
How do you know if you need a Stanley cup gasket replacement?
Sometimes, cleaning isn’t enough. If you notice cracks, stretching, or the gasket feels loose, it’s time for a replacement. A damaged gasket won’t create a tight seal, so leaks will keep happening. You might also see the lid not fitting as securely as before. If you’ve tried cleaning and reseating but your stanley cup still leaks, a new gasket is your best bet.
Where can you find a high-quality, reliable replacement gasket?
You want your stanley cup to last, so choosing the right replacement matters. Look for a leak-proof lid replacement or a gasket made specifically for your model. Many manufacturers, including our factory, offer high-quality gaskets that fit perfectly and restore your cup’s original performance. Here’s a quick guide to help you stop stanley cup from leaking:
-
Identify the cause of the leak—check the gasket and straw opening.
-
Replace the lid if needed with a leak-proof lid replacement.
-
Install the new lid or gasket by popping off the old one and fitting the new part in place.
Tip: Regularly check your stanley cup gasket for signs of wear. Early attention can save you from messy leaks!
How Can You Prevent Future Gasket Issues?
Best Practices for Cup Maintenance from a Manufacturer
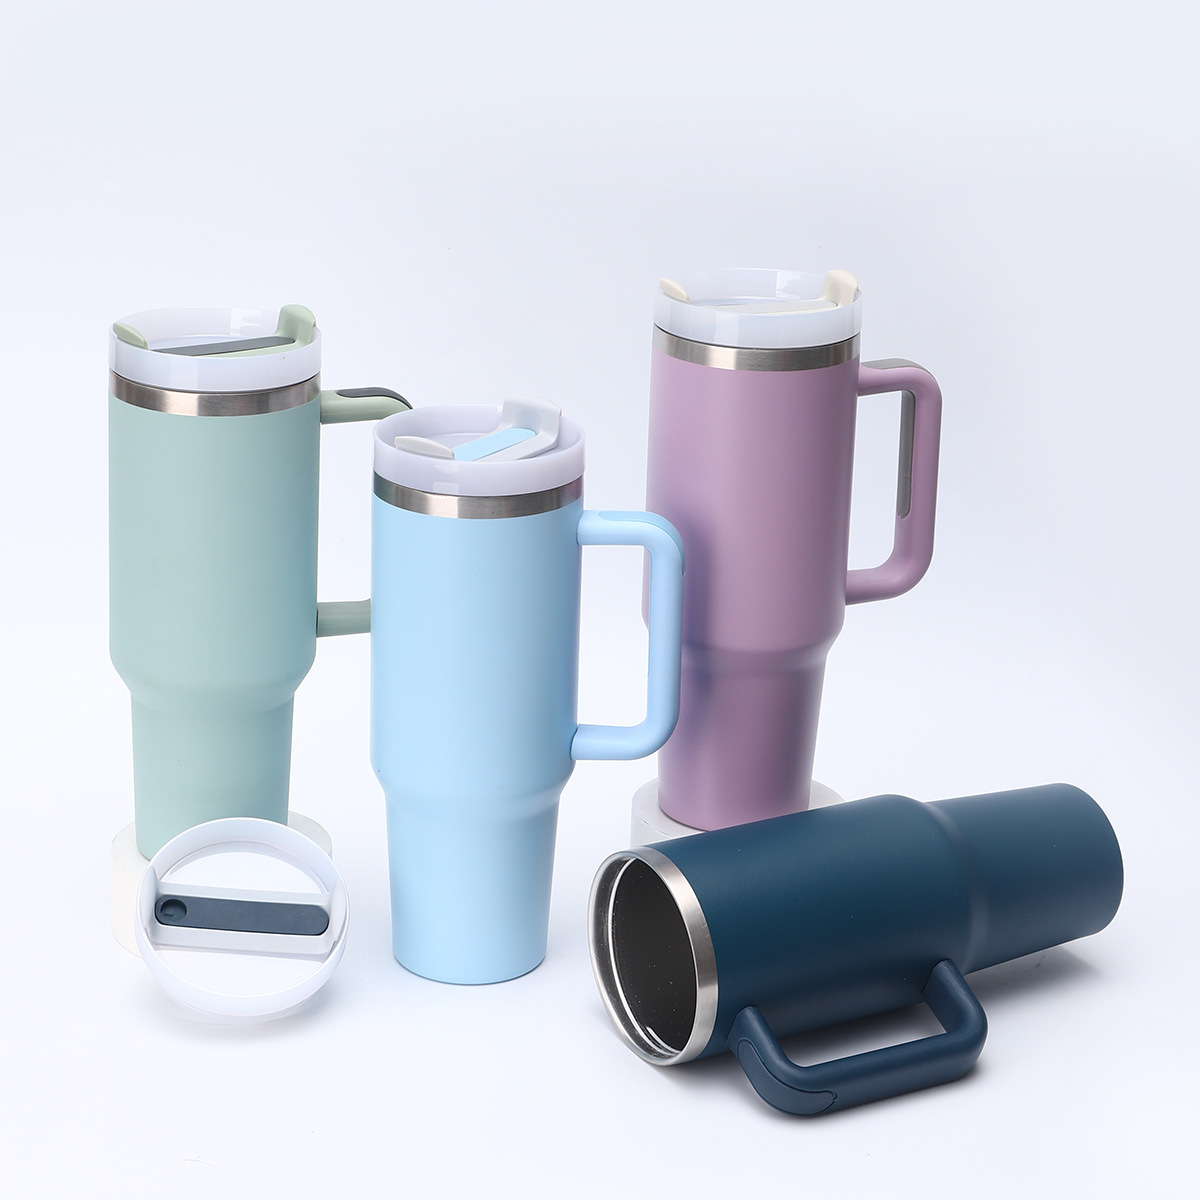
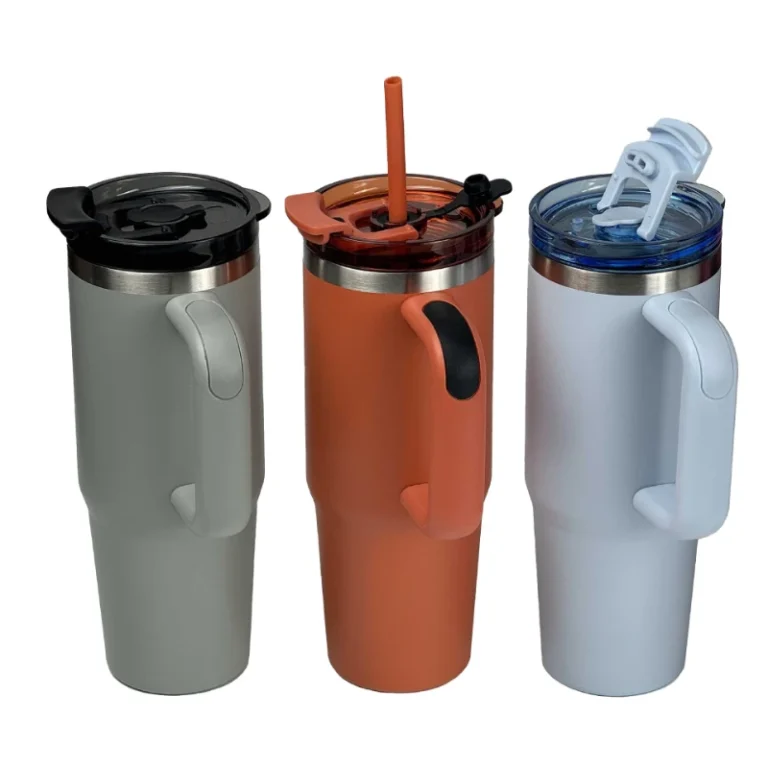
Custom Logo Design 40oz Tumbler with Handle Straw Lid S214098,
unit price: USD 2.50~3.99
Send email to info@customizedwaterbottles.com or leave online message, you will get response within 24 hours.
What is the correct way to clean your Stanley cup and its gasket?
Keeping your stanley cup in top shape starts with regular cleaning. You want to make sure every part stays fresh and leak-free. First, take apart all the removable pieces, including the lid, gasket, and flip straw. Rinse each part under warm water to wash away loose debris. Use a mild dish soap and a bottle brush to scrub the inside and outside. This helps remove any sticky residue or hidden grime.
Tip: Always let every piece air dry completely before you put your cup back together. Moisture can lead to mold or mildew, which damages the gasket and affects taste.
Here’s a quick cleaning checklist:
-
Disassemble all removable components.
-
Rinse with warm water.
-
Hand wash using gentle soap and a bottle brush.
-
Rinse again to remove all soap.
-
Pat dry with a soft towel or let air dry fully.
-
Avoid harsh chemicals and abrasive sponges.
How should you handle the stanley flip straw and leak proof lid to avoid damage?
You want your flip straw and leak proof lid to last. Handle them with care when you clean or reassemble your cup. Never force the straw into place. Gently push it until it clicks. If you twist the lid too tightly, you might stretch or damage the gasket. Always check that the lid sits flat and the straw fits snugly. If you notice resistance, stop and realign the parts.
Note: Avoid dropping your cup or banging the lid against hard surfaces. Small cracks or warping can cause leaks later.
What are the signs that your gasket needs early attention?
Spotting problems early keeps your drinks safe and your cup leak-free. Watch for these signs:
-
The gasket looks cracked, stretched, or flattened.
-
You see moisture around the lid or straw opening.
-
Your drink tastes odd or you smell something musty.
-
The lid feels loose or doesn’t seal tightly.
If you notice any of these, clean the gasket right away. If problems continue, consider replacing it before leaks get worse.
Your Stanley Cup FAQs: Usage and Care Answered
Expert Tips for Longevity
How do you thoroughly clean the Stanley flip straw assembly?
You want your cup to stay fresh and leak-free, so cleaning the flip straw assembly matters. Start by taking apart the straw, lid, and gasket. Use warm water and a mild detergent. A bottle brush helps you reach inside the straw and around the gasket. For tough stains, try a mix of baking soda and vinegar. Rinse every part well and let them air dry completely. If you skip drying, moisture can lead to mold or bad smells.
Tip: Always store your cup with the lid off in a cool, dry place. This keeps everything fresh and prevents mildew.
Is your Stanley cup dishwasher safe? What does that mean for the gasket?
Many Stanley cups are dishwasher safe, but you should always check your model’s instructions. Even if your cup can go in the dishwasher, hand washing the gasket and lid helps them last longer. The high heat in dishwashers can sometimes warp silicone gaskets or make them less flexible. If you want your gasket to keep sealing tight, wash it by hand and let it air dry.
Note: Avoid exposing your cup to extreme temperatures. This protects the insulation and keeps your drink cold or hot for longer.
Why does your cup leak when on its side, and how can you fix it?
You might notice leaks if you lay your cup on its side. This often happens when the lid or straw opening isn’t sealed all the way. Make sure you close the lid tightly and push the straw in until it clicks. Most leaks come from lids that aren’t sealed or straw openings left open.
-
Always double-check the lid and straw before tossing your cup in a bag.
-
Avoid using your cup for activities where it might tip over, like gaming at your desk.
If you follow these tips, you’ll keep your stanley cup leak-free and ready for anything.
You can keep your stanley cup leak-free with a few simple steps. Clean and reseat the gasket, flip or replace it if needed, and use a leak-proof lid. Regular care makes a big difference. Try these habits:
-
Skip harsh chemicals.
-
Let your cup air dry before storing.
Enjoy your favorite drinks without worry. Share your own tips and help others keep their cups in top shape! 😊
FAQ
How often should you replace your Stanley cup gasket?
You should check your gasket every few months. If you see cracks, stretching, or leaks, swap it out. Most gaskets last a long time with regular cleaning.
Can you use your Stanley cup for hot drinks?
Yes, you can use your Stanley cup for hot drinks. Just make sure the lid and gasket fit tightly. Always test for leaks before carrying hot liquids.
What’s the best way to store your Stanley cup?
Store your cup with the lid off in a cool, dry spot. This keeps moisture out and prevents mold. Let all parts air dry after washing.
Why does your Stanley cup smell bad sometimes?
A bad smell usually means mold or residue. Take apart the lid, straw, and gasket. Wash everything with warm, soapy water. Let it dry completely before reassembling.
Where can you find replacement gaskets for your Stanley cup?
You can order replacement gaskets from trusted manufacturers. Look for ones made for your specific Stanley model.
If you want more information on bulk vacuum flasks or custom thermos tumblers, please leave on online message or send email to info@customizedwaterbottles.com , you will get reply within 24 hours.!
