Ready to get the most out of your stainless shaker bottle? You want smooth shakes, no leaks, and zero funky smells. Beginners often ask about mixing, cleaning, and staying odor-free. Here’s a quick look at what you might wonder and how to fix it:
Concern | Solution |
|---|---|
Use a quality bottle to keep shakes clump-free. | |
Capacity | Pick the right size for your drinks. |
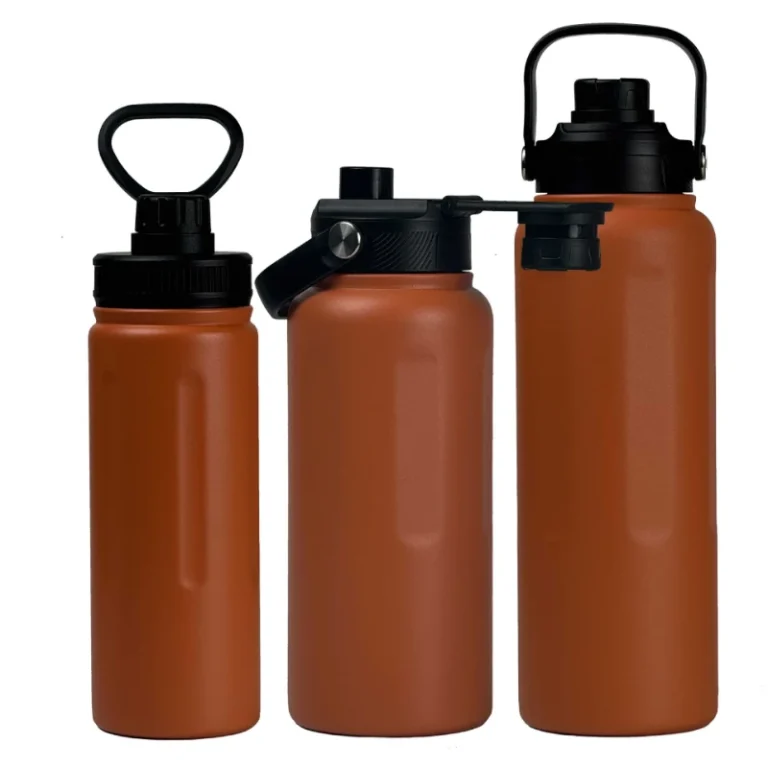
Material quality | Choose stainless steel for durability and odor resistance. |
Maintenance | Rinse right after use; try baking soda for tough smells. |
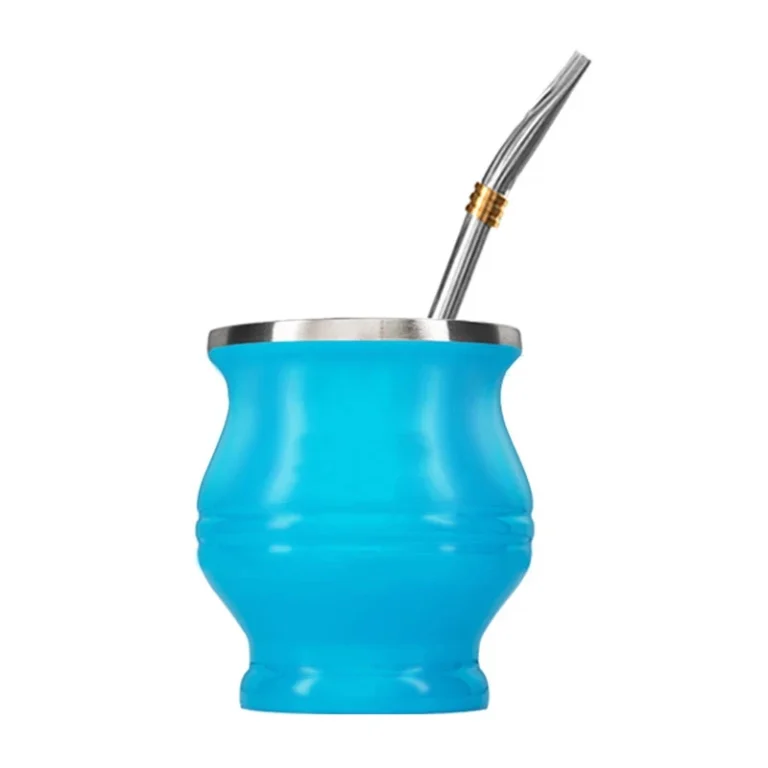
Using your bottle the right way boosts hydration, keeps drinks colder, and helps your body recover after workouts. You’ll make healthier choices and enjoy better taste every time. With a Wholesale Shaker Bottle, you can always have a fresh bottle ready.
How Do You Use a Protein Shaker Bottle the Right Way?
The Step-by-Step Mixing Guide
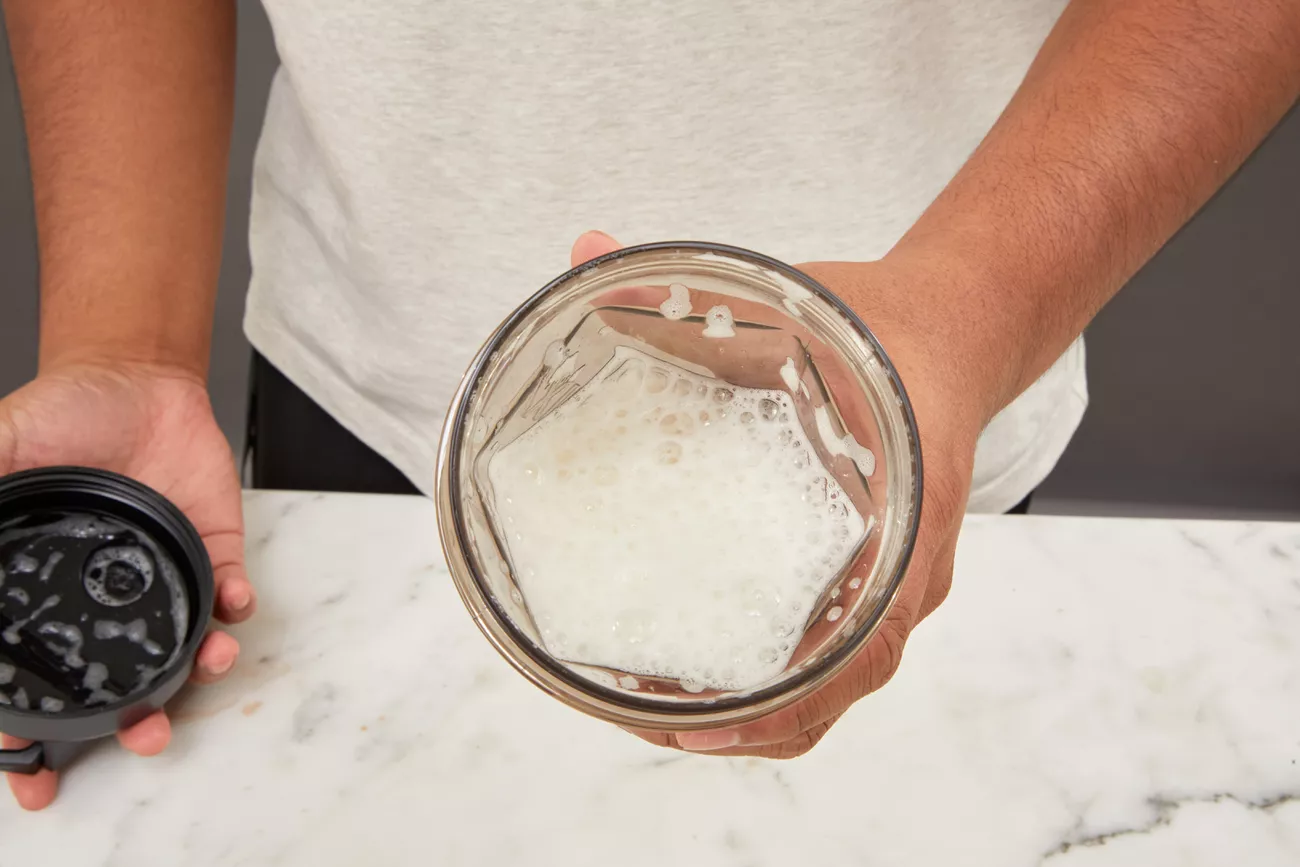
Getting the perfect shake is easy when you follow the right steps. If you want to avoid clumps and leaks, you need to know the best way to use your shaker bottle. Here’s a simple guide to help you every time you want to mix powdered supplements.
The Correct Order and Sealing Process
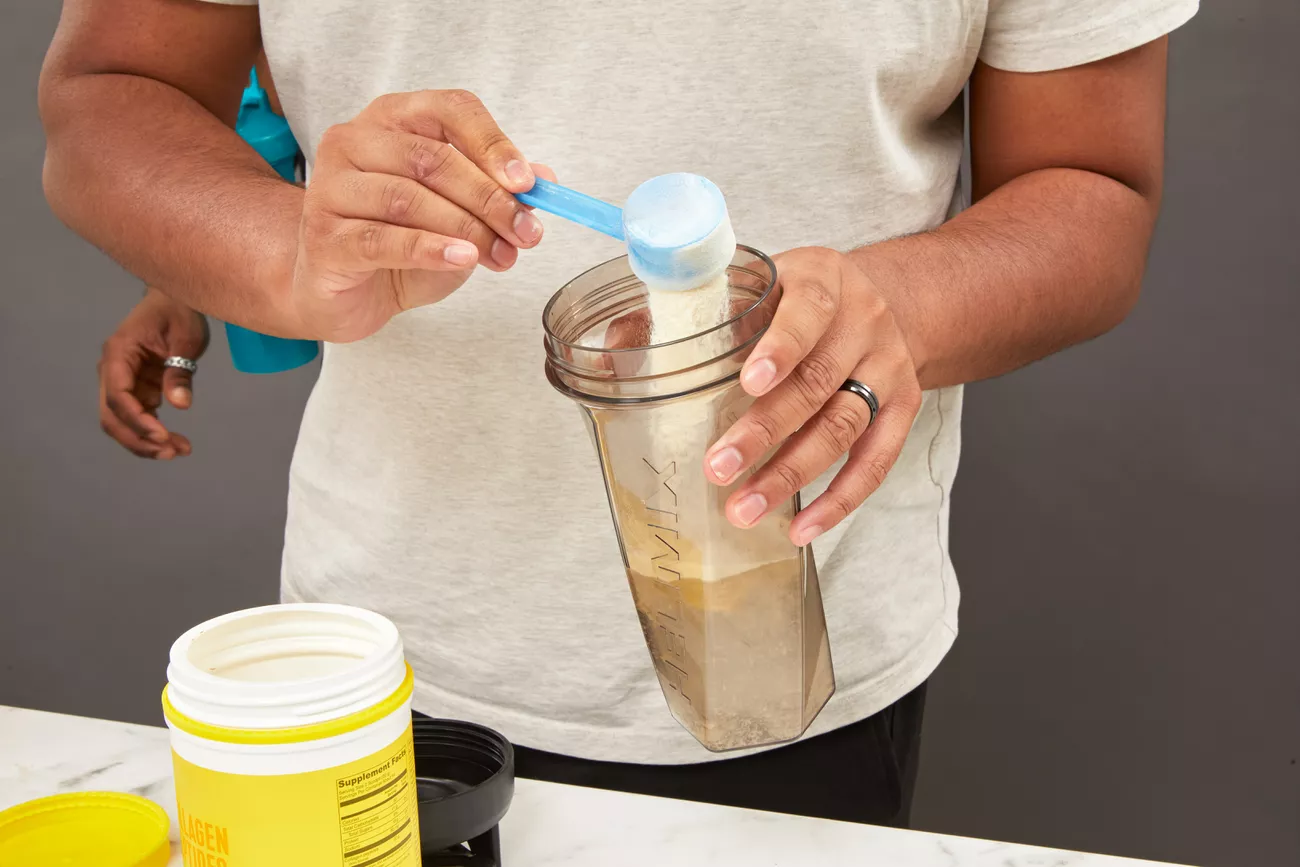
Start by pouring your liquid into the shaker bottle. Water, milk, or a milk alternative all work well.
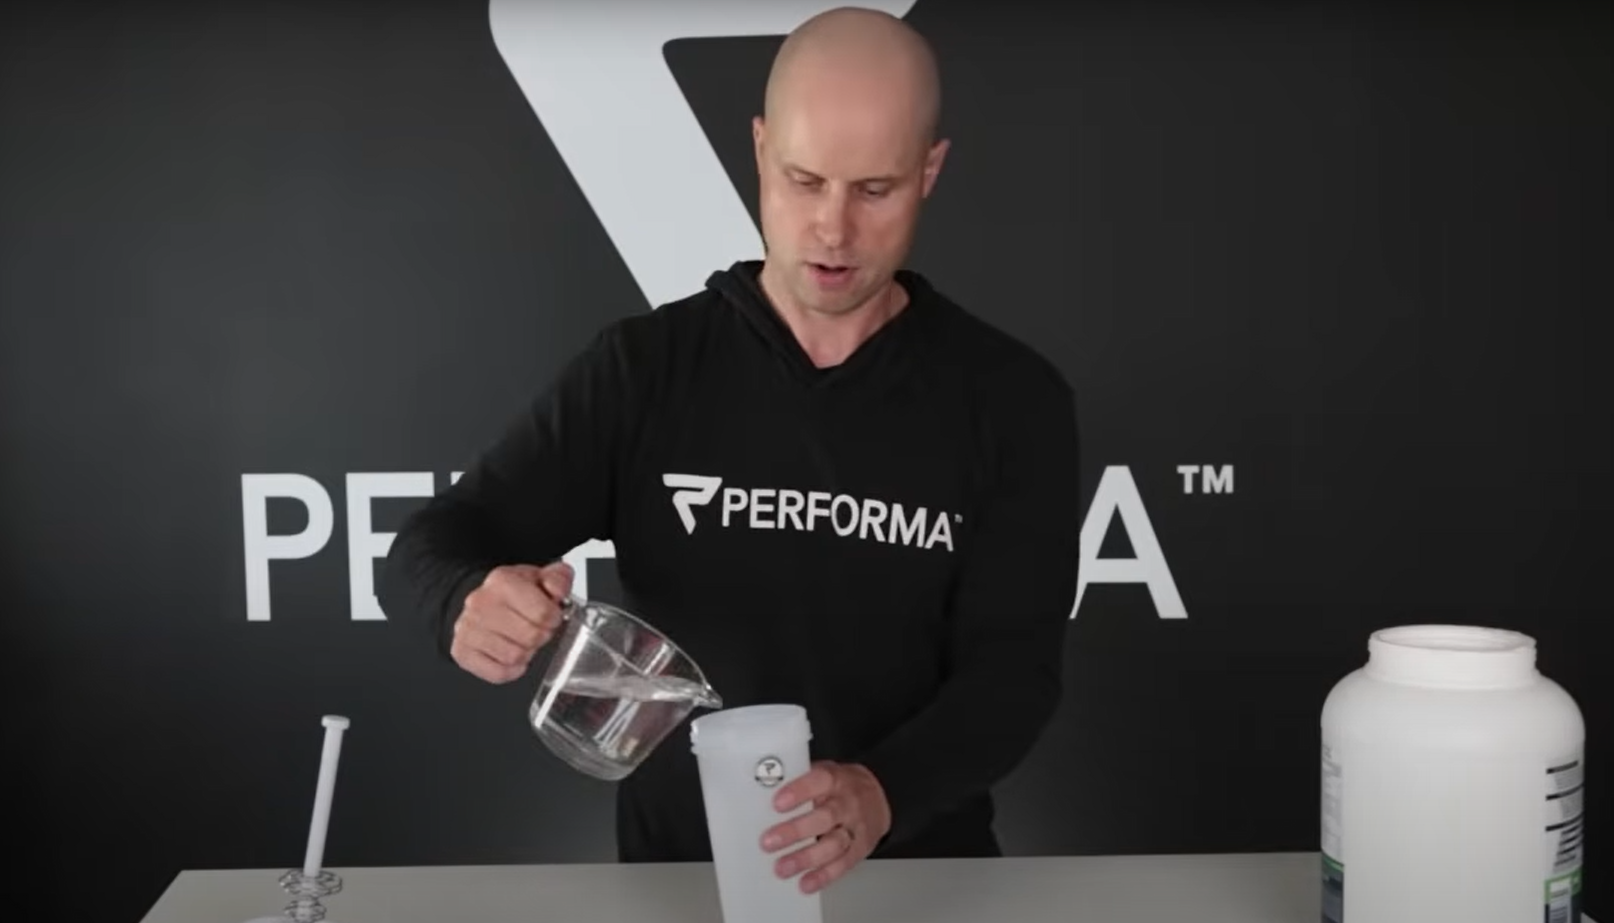
Add your powder slowly. This helps prevent clumping and makes mixing easier.
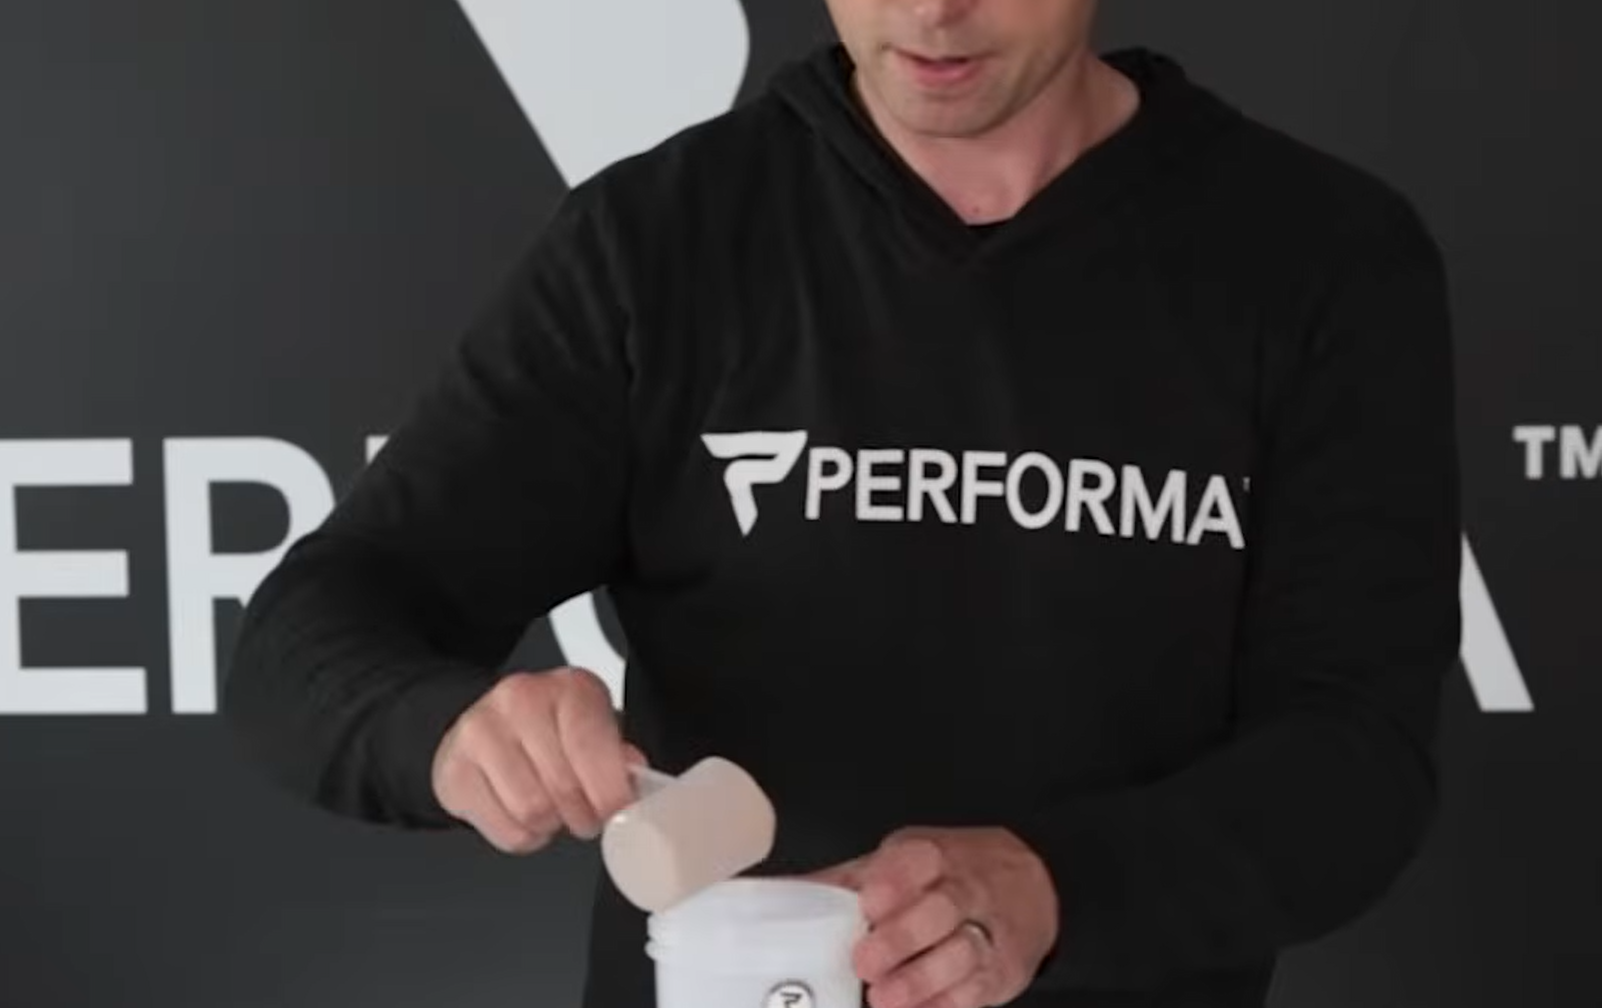
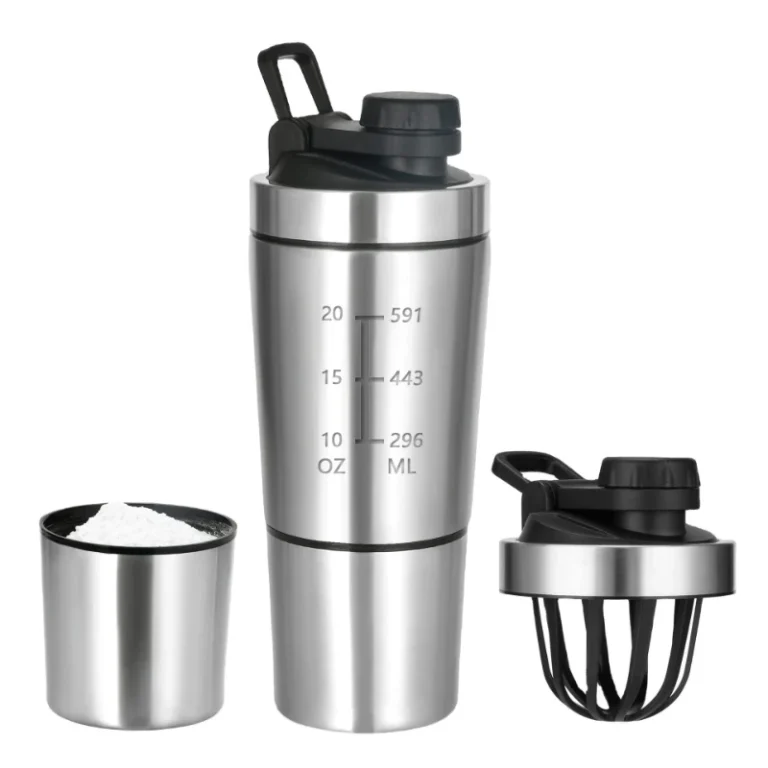
3. Drop in the mixing ball or BlenderBall if your shaker has one.
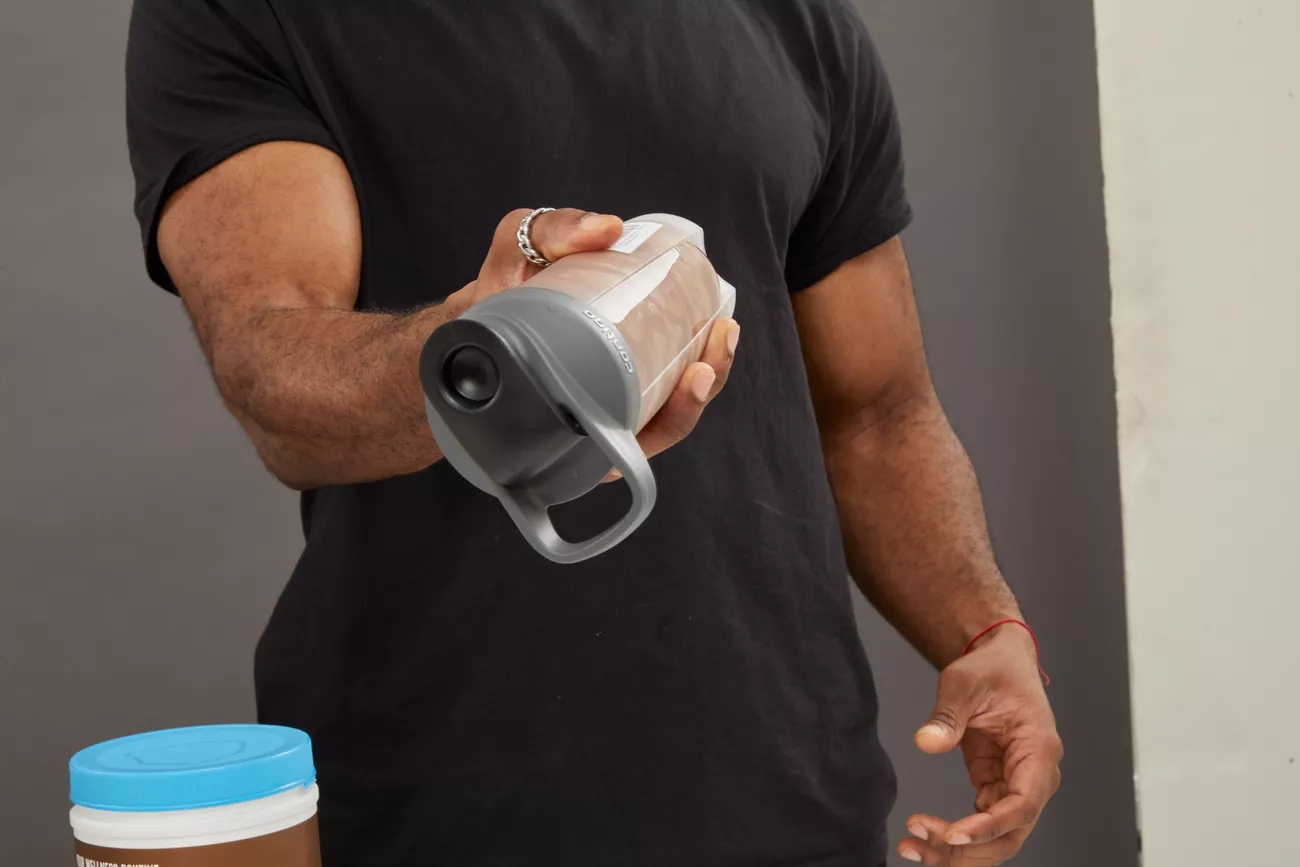
Make sure the lid is tightly sealed. Double-check the flip cap and the screw-on lid.
Hold the shaker upright and give it a gentle shake to test for leaks before you start mixing.
Tip: Room temperature liquids blend better than cold ones. Cold liquids can make it harder for the powder to dissolve, so try to avoid them if you want a smoother shake.
The Shaking Technique and Safe Opening
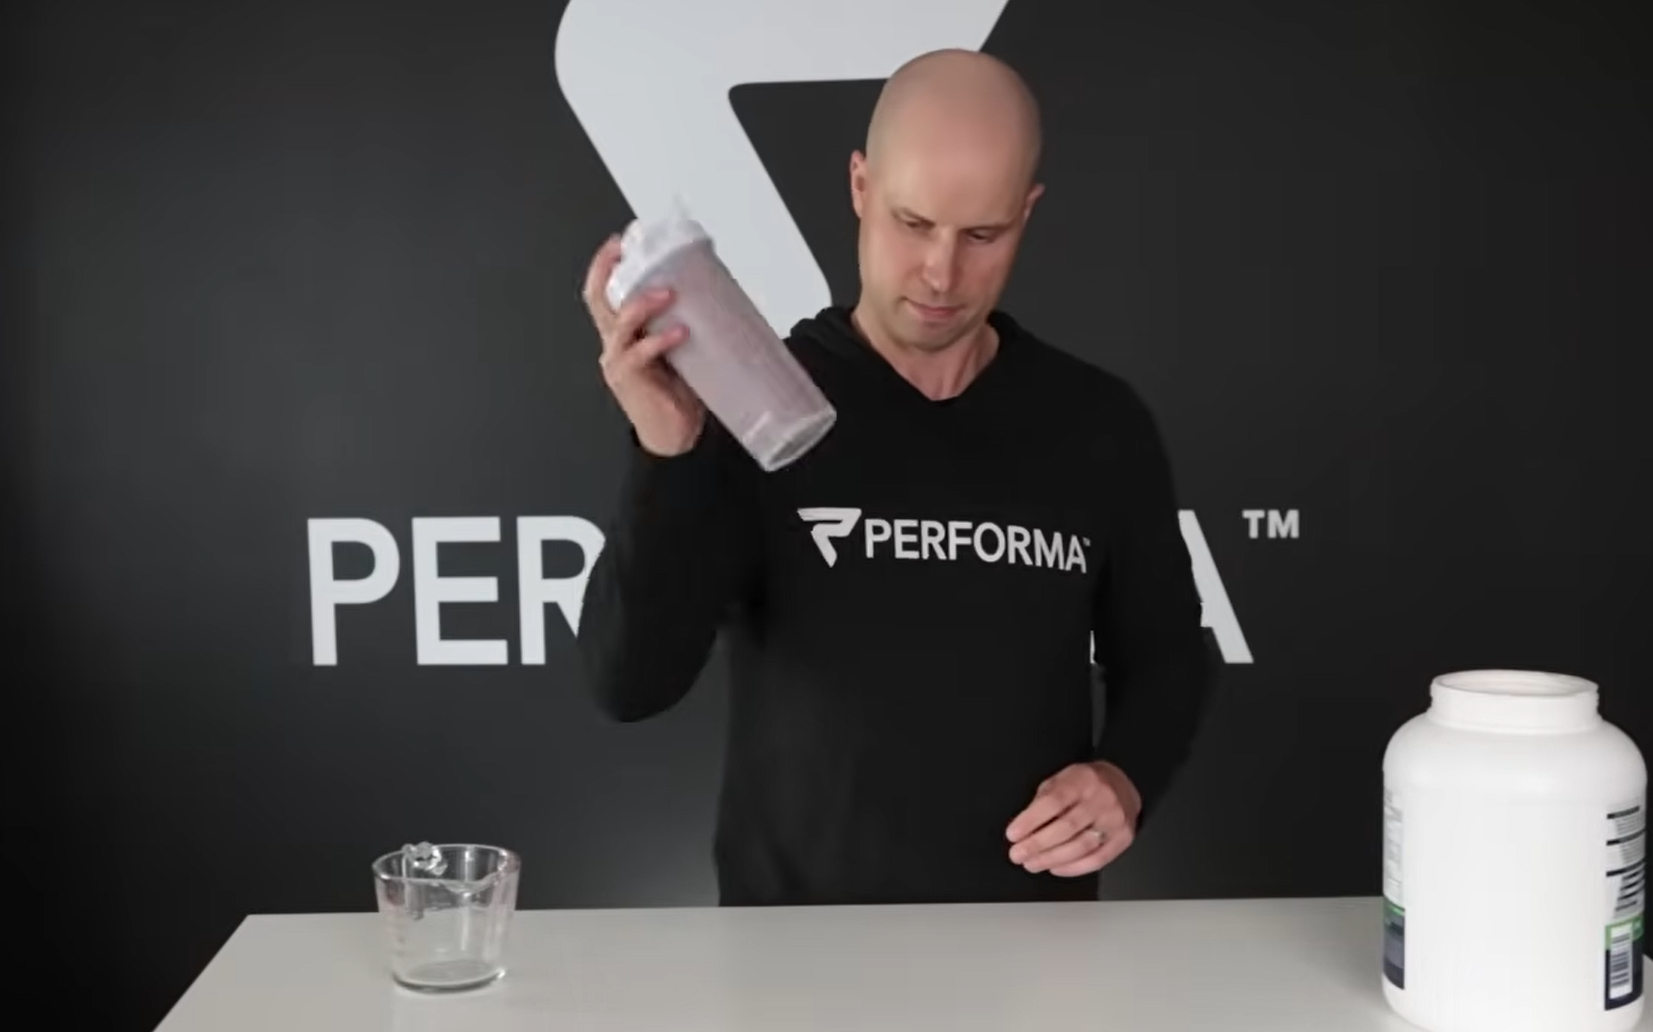
Now it’s time to shake things up! Hold the shaker with both hands and shake it vigorously for about 20-30 seconds. Move your arms in a circular motion or up and down—whatever feels comfortable. The mixing ball inside helps break down the powder and keeps your drink smooth.
When you’re done, let the shaker sit for a few seconds. This allows any pressure to settle. Open the lid slowly to avoid spills or a sudden burst of liquid. Now you’re ready to enjoy your perfectly mixed drink!
A protein shaker bottle makes it easy to mix powdered supplements on the go. With the right technique, you’ll never have to worry about clumps or leaks again. Keep your shaker bottle clean and dry after each use, and you’ll always have a fresh, tasty shake ready.
What Common Mistakes Should You Avoid?
Missteps That Lead to Mess and Damage
Nobody wants a mess or a broken shaker. You might think using a shaker is foolproof, but a few common mistakes can lead to leaks, damage, or even a ruined drink. Let’s look at what trips up most people:
You might not close the lid tightly enough, which causes leaks when you shake.
Some shakers break if you drop them, especially if the material isn’t sturdy.
A tricky spout guard or lid can make cleaning tough, leaving behind residue or smells.
Tip: Always check the lid and spout before you start shaking. A quick double-check saves you from a sticky mess.
Errors in Temperature and Shaking Method
Temperature matters more than you think. If you use boiling water or super hot liquids, you risk building up pressure inside the shaker. This can cause the lid to pop off or even damage the bottle. Stick with room temperature or cold liquids for best results.
When you shake, use a firm grip and steady motion. Don’t go overboard with force. If you shake too hard, you might cause leaks or even crack the bottle. A gentle but thorough shake mixes your drink without trouble.
Neglecting Immediate Care and Using Harsh Cleaners
Leaving your shaker bottle dirty after use is a recipe for bad smells and bacteria. Rinse it out as soon as you finish your drink. If you wait, powder and liquid can dry up and stick, making cleaning much harder.
Avoid harsh cleaners or rough scrubbing pads. These can scratch the surface and wear down the material. Use mild soap and a soft brush or sponge. This keeps your shaker looking new and safe for every use.
Note: Quick care and gentle cleaning go a long way. You’ll keep your shaker fresh and ready for your next workout or busy day.
Why is Cleaning Your Shaker Bottle Non-Negotiable?
The Importance of Hygiene for Health and Taste
You might think a quick rinse is enough for your stainless shaker bottle, but skipping a proper clean can cause big problems. Every time you mix a shake, tiny bits of powder and liquid stick to the inside. If you leave them, bacteria start to grow fast. That’s not just gross—it can actually make you sick and ruin the taste of your drinks.
Health Risks of Bacteria and Mold Growth
Let’s talk about what really happens inside a dirty stainless shaker bottle. Microbiological studies show that these bottles can become a home for harmful bacteria. Here’s what you need to know:
Bacteria like E. coli, Staphylococcus aureus, and Pseudomonas aeruginosa love warm, moist places.
If you don’t clean your stainless shaker bottle daily, biofilms—slimy layers made by bacteria—can form on the surfaces.
A study found that 88% of formula feed samples from unwashed bottles had high levels of coliforms, and 45% tested positive for E. coli.
If you use your stainless shaker bottle for protein shakes or meal replacements, you want to keep it safe. Bacteria can cause stomach aches, infections, and even more serious health issues.
Impact on Taste and Long-Term Bottle Condition
A stainless shaker bottle that isn’t cleaned well starts to smell bad. Old protein powder and bacteria leave behind odors that stick around. You might notice your shakes taste off, even if you use fresh ingredients. Over time, residue builds up and can stain the inside of your stainless shaker bottle. This makes cleaning harder and can shorten the life of your bottle.
Regular cleaning keeps your stainless shaker bottle fresh and odor-free.
You protect your health and enjoy better-tasting drinks.
Your stainless shaker bottle stays in top shape, ready for every workout or busy day.
Don’t let bacteria or bad smells take over. Clean your stainless shaker bottle after every use, and you’ll always have a safe, tasty shake.
How to Clean Stainless Steel Shaker Bottles
Quick and Effective Steps After Each Use
Keeping your shaker bottle fresh doesn’t have to take much time. If you make cleaning a habit, you’ll never have to deal with stubborn smells or stains. Here’s how you can keep your shaker in top shape every day.
Immediate Rinsing and Basic Washing Process
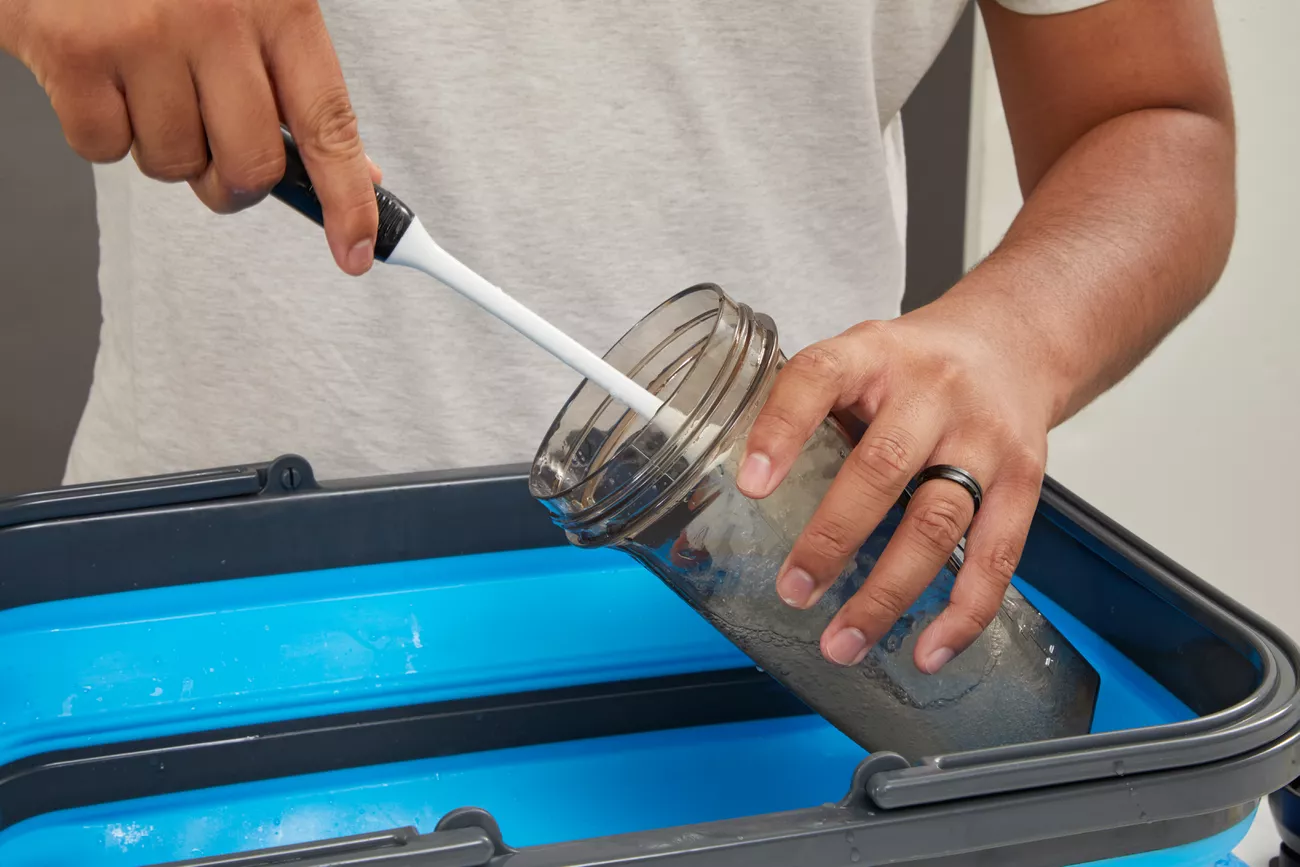
Right after you finish your drink, rinse your shaker bottle with warm water. This quick step helps prevent powder from sticking to the sides. If you let it sit, cleaning gets much harder. For a basic wash, use a drop of mild dish soap and fill the bottle halfway with warm water. Put the lid on, shake it up, and then use a bottle brush to scrub the inside. Rinse well to remove all soap.
You can also use natural cleaning agents that work well for stainless steel:
Mix equal parts water and distilled white vinegar, shake, and let it soak overnight. Rinse in the morning.
Add a teaspoon of baking soda, fill with water, scrub, and let it sit overnight before rinsing.
Clean with soap and water first, then add a splash of 3% hydrogen peroxide, shake, pour out, and rinse.
Tip: Don’t forget to clean the lid and mixing ball. These parts can trap residue and cause odors.
Drying and Reassembly Best Practices
After washing, dry your shaker bottle completely. Leave the bottle and lid open on a rack or towel. Air drying helps prevent moisture from getting trapped, which can lead to mold. Once dry, reassemble your shaker and store it with the lid off if possible. This keeps air flowing and your bottle smelling fresh.
A quick daily routine keeps your shaker ready for your next workout or busy day. You’ll enjoy better-tasting drinks and a bottle that lasts longer.
How to Perform a Deep Clean (Weekly or As Needed)
Banishing Tough Odors and Stains for Good
Sometimes, your shaker just needs more than a quick rinse. If you notice stubborn smells or stains after mixing protein shakes, it’s time for a deep clean. This routine helps keep your drinks tasting fresh and your bottle looking new.
Methods for Stainless Steel Components
Stainless steel stands up well to deep cleaning. You can use a few different methods to tackle tough odors and stains. Here’s a quick guide:
Method | Ingredients/Tools Needed | Steps |
|---|---|---|
Baking soda, white vinegar | 1. Add baking soda and warm water, shake, and let sit. 2. Rinse, then use vinegar solution. | |
Denture Cleaning Tablets | Denture cleaning tablets | 1. Fill bottle with water, add tablet, and let fizz. 2. Rinse well. |
Hydrogen Peroxide | Hydrogen peroxide | 1. Pour hydrogen peroxide, swish, and let sit. 2. Rinse thoroughly. |
You can try baking soda and vinegar first. This combo breaks down stains and neutralizes odors from protein shakes. Denture cleaning tablets also work well. They fizz away residue and leave your shaker bottle smelling clean. Hydrogen peroxide is another option for a deep clean. Just remember to rinse everything well before using your bottle again.
Tip: Always let your stainless steel bottle air dry with the lid off after deep cleaning. This keeps it fresh for your next round of protein shakes.
Approaches for Plastic Parts and Natural Solutions
Plastic lids and mixing balls can hold onto smells from protein shakes. You can soak these parts in a mix of warm water and baking soda. Let them sit for a few hours, then scrub with a soft brush. For extra freshness, add a splash of white vinegar to the soak. Lemon juice also helps remove lingering odors and gives your shaker a clean scent.
If you want a natural solution, try leaving your shaker open in sunlight for a few hours. Sunlight helps kill bacteria and fades stains. Always check that every part is dry before putting your shaker back together. This step keeps your protein shakes tasting great and your bottle ready for action.
Is It Safe to Put Your Shaker Bottle in the Dishwasher?
The Dishwasher Debate: Pros and Cons
You might wonder if you can toss your shaker bottle into the dishwasher and call it a day. Dishwashers seem convenient, but they come with their own set of pros and cons. On the plus side, dishwashers save you time and effort. You just load your bottle, press a button, and walk away. That sounds great after a long workout or a busy morning.
However, not every part of your shaker bottle loves the dishwasher. Some bottles handle the heat and water pressure well, while others do not. Always check the manufacturer’s instructions before you try this method.
Risks for Plastic and Stainless Steel Components
Dishwashers use hot water and strong jets. This can warp plastic lids or mixing balls. Over time, the heat may cause cracks or make the plastic brittle. Stainless steel bottles usually hold up better, but harsh detergents can dull the finish or leave spots.
Here’s what other users have noticed when they clean their shaker bottles in the dishwasher:
User Concern | Description |
|---|---|
Effectiveness | |
Contamination | Some users report that dirty dishes in the dishwasher contaminate their bottles during the wash cycle. |
You want your bottle to come out clean and safe. Sometimes, the dishwasher just doesn’t reach every corner, especially under the lid or around the mixing ball.
Hand Washing Recommendations and Alternatives
Hand washing gives you more control. You can scrub every part and make sure nothing gets left behind. Use warm water, mild soap, and a bottle brush for best results. Pay extra attention to the lid and any grooves where powder might hide.
If you need a quick refresh, fill your shaker with warm water and a drop of dish soap. Shake it up, rinse, and let it air dry. For a deeper clean, try soaking the parts in a mix of baking soda and water. This keeps your bottle fresh and ready for your next shake.
Tip: If you do use the dishwasher, place your shaker on the top rack and avoid high-heat drying cycles.
How Can You Keep Your Bottle Fresh for Longer?
Pro Tips for Maintenance and Storage
Complete Drying and Proper Storage Techniques
You want your shaker bottle to stay fresh and ready for every use. After you wash your shaker, always dry it completely. Water left inside can lead to mold or bad smells. Take the lid off and place both the bottle and lid upside down on a clean towel or drying rack. Let air flow inside. This helps every part dry faster.
When you store your shaker bottle, keep the lid off or loosely attached. This prevents moisture from getting trapped. If you use your bottle for shakes every day, you might want to keep it in a cool, dry place. Avoid leaving it in your gym bag or car, where heat and humidity can build up.
Tip: Rotate between two bottles if you drink shakes often. This gives each one time to dry fully and keeps your daily hydration routine smooth.
Natural Deodorizing and Preventive Measures
Sometimes, even a clean shaker can pick up odors from protein shakes. You can use natural methods to keep your bottle smelling fresh. Try placing a teaspoon of baking soda inside your dry bottle and leave it overnight. In the morning, just rinse it out. Lemon slices also work well. Put a slice in your empty shaker bottle, close the lid, and let it sit for a few hours.
Here’s a quick table of natural deodorizing tricks:
Method | How to Use |
|---|---|
Baking Soda | Leave a teaspoon inside overnight |
Lemon Slice | Place in bottle for a few hours |
Sunlight | Air out bottle in direct sunlight |
You can also rinse your shaker with a splash of vinegar once a week. This helps remove any leftover smells from shakes and keeps your bottle ready for your next round of hydration. With these easy steps, your shaker bottle will always be fresh, and your daily hydration will taste great.
When Is It Time to Replace Your Shaker Bottle?
Signs You Need a New One
You use your shaker bottle every day. Over time, you might notice changes that signal it’s time for a replacement. Cracks, leaks, or lingering odors can make your shaker less effective. If you see stains that won’t wash out or smell something funky even after cleaning, your bottle may not be safe for drinks anymore. Sometimes, the lid doesn’t seal tightly, or the mixing ball gets rusty. These problems can lead to spills or even health risks.
Identifying Permanent Damage and Wear
Take a close look at your shaker. Do you spot any cracks or chips? These can trap bacteria and make cleaning tough. If the lid warps or the threads strip, you might struggle to close it properly. Scratches inside the bottle can hold onto old flavors and smells. If you notice rust on metal parts or cloudy plastic, it’s time to let go. A damaged shaker bottle won’t keep your drinks fresh or safe.
Tip: Replace your shaker if you see any damage that affects its function or hygiene. A fresh bottle means better taste and fewer worries.
When to Upgrade to a Stainless Steel Shaker Bottle
Thinking about an upgrade? Stainless steel offers durability and keeps drinks colder for longer. You get a bottle that resists odors and stains. Plus, switching to stainless steel helps the environment:
Plastic shakers contribute to pollution if not recycled, taking hundreds of years to break down.
Stainless steel is highly recyclable and can be reused many times, reducing waste.
Plastic bottles have low recycling rates and pose environmental hazards.
Stainless steel promotes sustainability and reduces your impact through recyclability.
Choosing a stainless steel shaker means you invest in quality and help protect the planet. You enjoy fresh drinks and support a cleaner future.
You want your nutrition to taste great and support your goals. Here’s what health experts recommend for keeping your shaker bottle clean and safe:
Clean your bottle after every use to stop bacteria from growing.
Use hot water and dish soap or a vinegar mix for deep cleaning. Let it soak to remove odors.
Scrub the mouthpiece and cap, since these spots collect germs.
Make cleaning part of your routine. You’ll enjoy better nutrition and a fresh, quick post-workout recovery drink every time.
FAQ
How often should you clean shaker bottles?
You should clean shaker bottles after every use. Rinse them right away, then wash with soap and water. This habit keeps your drinks fresh and prevents bacteria from building up inside your shaker bottles.
Can you use shaker bottles for drinks other than supplements?
Absolutely! You can use shaker bottles for smoothies, iced coffee, or even water. Many people use shaker bottles for mixing nutritional supplements, but you can get creative with your favorite drinks.
Why do shaker bottles sometimes smell bad?
Shaker bottles can trap odors if you leave them unwashed. Protein and supplements leave residue that causes smells. Clean your shaker bottles quickly after use. Let them dry with the lid off to keep them fresh.
What’s the best way to mix supplements in shaker bottles?
Pour your liquid first, then add supplements. Drop in the mixing ball. Seal the lid tightly. Shake for 20-30 seconds. This method helps you avoid clumps and gets the most out of your shaker bottles.
Are stainless steel shaker bottles better than plastic ones?
Stainless steel shaker bottles resist odors and last longer. They keep drinks cold and look sleek. If you use supplements daily, stainless steel shaker bottles can make your routine easier and more enjoyable.
